Vanilla Yogurt Chiffon Cake

IMG_6050

Chiffon like macaroons can be really prima donna. One minor mistake can result in deflated cake or collapse while inverted -.- of cos, this is speaking from experience 😀 I remember crying murder when my first chiffon collapse while cooling down.

IMG_6057

Adapted from my friend’s cook book and Happy home baking

Time Taken: 3 hours including baking and cooling 🙂

Make: 23 inch chiffon pan (for 8-10 people)

Ingredient

(A)

  • 6 egg yolks
  • 50g caster sugar
  • 70g canola oil
  • 100g cake flour, sifted
  • 1/2 teaspoon baking powder
  • 1/4 teaspoon salt
  • 110ml plain or vanilla yogurt
  • 1 teaspoon vanilla extract

(B)

  • 6 egg whites
  • 1/4 teaspoon cream of tartar
  • 75g caster sugar

Directions:

  1. In a medium mixing bowl, beat together egg yolks and sugar until combined
  2. Add the oil and continue beating until the mixture turns light and fluffy
  3. Add the yogurt. Once it has been combined, slowly add the dry ingredients and fold into the mixture. Set aside
  4. In a clean mixing bowl, whisk the egg whites until frothy. Add the cream of tartar and continue whisking un till soft peaks form
  5. Add the sugar gradually, whisking until stiff peaks form
  6. Beat 1/3 of the egg white into the egg yolk batter
  7. Gently fold the remaining egg whites in 2 batches into the mixture until no white streaks remain. Making sure not to overmix
  8. If you would like to make the rainbow/or include colors. Split the batter into different bowls, add color and fold gently
  9. Pour the batter evenly into an UNGREASED** chiffon pan **VERY IMPORTANT** refer to notes
  10. Bake at 160°C for 50-70 minutes (Mine took 60mins) If the top gets too brown, cover with a piece of aluminium foil
  11. Once the cake is done, invert it immediately over a bottle** and cool on a wire rack. Do not unmold the cake until it has cooled completely. (**refer to notes)

Notes:

  • It is important NOT to grease your pan as this prima donna wants to climb and need something to hold onto
  • I suggest you test the bottles when the cake tin is empty to make sure you have one on hand that fits.
  • The cake stays fresh for 3 days in room temperature, 10 days refrigerated, 2 months frozen

Chocolate Fudge Brownie

Chewy fudge homemade brownies made completely from scratch ;D So, for chocolate lovers, you should totally try this easy as ABC recipe!

188657_10150175649801015_8117934_n

Time Taken: 25 mins

Make: 9x9inch square tray (18-20 pcs of brownies)

Ingredient:

  • 115g unsalted butter, room temperature
  • 228g chopped semi-sweet chocolate
  • 150g castor sugar
  • 50g brown sugar
  • 3 large eggs
  • 1 teaspoon vanilla extract
  • 180g all-purpose flour
  • 2 Tablespoons unsweetened cocoa powder
  • 1/4 teaspoon salt
  • 180g semi-sweet chocolate chips

Directions:

  1. Measure ingredients as detailed above. Line tray with parchment paper, leaving an overhang on all sides.
  2. Melt the butter and chopped chocolate using double boil method about 5 mins or until fully melted and smooth. Set aside and allow to cool slightly
  3. Preheat oven to 180C
  4. Whisk the granulated and brown sugars into the cooled chocolate/butter mixture
  5. Add the eggs, one at a time, whisking until smooth after each addition. Whisk in the vanilla, mix well.
  6. Gently fold in the flour, cocoa powder, and salt. Once combined, fold in the chocolate chips.
  7. Pour batter into the prepared baking pan and bake for 35-36 minutes or until a toothpick inserted in the center should come out with only a few moist crumbs when the brownies are done
  8. Allow the brownies to cool completely in the pan set on a wire rack. Once cooled, lift the paper of the pan using the overhang on the sides and cut into squares and serve with ice cream! (Or if you are lazy like me, just use the aluminum foil trays :D)

149842_500416611014_7283592_n

Chocolate Peanut Butter Chip Cookies

It’s raining cats and dogs on a Saturday and I don’t have plans till evening so I’ve decided to try this crazy cookie recipe, as I was measuring it I was thinking to myself, this is chocolate overload and for those who love chocolate you should totally give it a try.

chocolate cookie

Time Taken: 1.5hours

Makes: About 24 medium sized cookies

Ingredients:

  • 133g plain flour
  • 21g unsweetened cocoa powder
  • 1 tsp baking powder
  • 1/4 teaspoon salt
  • 280g semi-sweet chocolate, chopped
  • 2 large eggs (55-60g each)
  • 1 tsp vanilla paste
  • 75g unsalted butter, softened to room temperature
  • 150g light brown sugar
  • 50g castor sugar
  • 160g semi-sweet chocolate chips
  • 160g peanut butter chips
  1. Sift together flour, cocoa powder, baking powder and salt in a bowl. Set aside
  2. Melt the chopped chocolate using double boil method about 3 mins or until fully melted and smooth. Set aside
  3. Whisk the egg and vanilla paste together and set aside
  4. Beat the butter until light and creamy then add in sugar until well combined. It should be granular looking now
  5. Mix in the beaten eggs until incorporated
  6. Add in the melted chocolate in a steady stream and mix well
  7. Add the dry ingredients on a slow seed until well combined
  8. Fold the chocolate chips and peanut butter chips until incorporated. DO NOT OVERMIX
  9. Chill the dough for at least 30minutes in the fridge
  10. Preheat the over to 180c and line the baking trays with parchment paper
  11. Scoop about 1 tbsp of the dough and roll into a ball. Make sure to give some space between each cookies as it will spread little during the bake
  12. Bake for about 12 mins or until the cookies have just begun to set. NOTE: The cookies will look little soft but they will firm up as they cool
  13. Allow cookies to cook on baking sheet for about 5 – 7mins before transferring to a wire rack to cool completely
  14. Store in air-tight container

IMG_5513

Someone once said “never leave a girl alone with peanut butter and chocolate” and I wonder why 😀

Marble Butter Cake

Recipe adapted from: Nasi Lemak Lover

Total time: 1h 30 mins

Makes: 8″ square cake

IMG_5266

Ingredients:

  • 250g unsalted butter, room temperature
  • 180g caster sugar
  • 4 Large Eggs (55g – 60g each)
  • 1 tsp vanilla paste
  • 230g cake flour, sifted
  • 1 and a half tsp baking powder, sifted
  • Pinch of fine salt
  • 4 tbsp milk
  • 1 tbsp unsweetened cocoa powder + 1tbsp hot water + 1tbsp milk
  1. Measure ingredients as detailed above. Line tray with parchment paper
  2. Sift cake flour, baking powder and salt together. Set aside
  3. Add cocoa powder, water and milk together, stir well and set aside
  4. Preheat oven at 170c
  5. Beat butter and sugar until light and creamy. Add vanilla paste and mix well
  6. Add one egg at a time, beating well after each addition. Once well combined, increase to high speed and beat for a minute until fluffy
  7. Add the dry ingredients and milk, alternatively till well combined (i.e.: Add 1/4 flour mix well then 1 tbsp milk mix well and repeat for four times).
  8. Take 250g of plain batter and place it in another clean mixing bowl. Add in the cocoa mixture and mix well
  9. Spoon the two batters (plain & cocoa mixed) alternatively into the cake tin
  10. Using a butter knife, gently swirl the mixture to create the marbled effect
  11. Tap the tray against the work surface a couple of times to remove any air bubbles
  12. Bake for 50mins or until the skewer insert comes out clean

Fluffy Pandan Chiffon Cake

I had leftover pandan leaves from my kueh ko swee so I’ve decided to make pandan chiffon cake. How can anyone resist light and fluffy chiffon cake for breakfast right?

Pandan Chiffon Cake
Total time: About 1.5 hours
I used a baking tin with a base of 21cm
Ingredients
  • 110g cake flour
  • 5 eggs (about 50-55g per egg), separated
  • 60ml fresh coconut milk
  • 60g vegetable oil
  • 1/4 tsp baking powder
  • 10 pandan leaves
  • 4 tbsp water
  • 120g castor sugar (divided into 2, 60g each)
  • 1/2 tsp vanilla extract

Measure ingredients as detailed above and pre-heat oven at 150C

Wash the pandan leaves and cut into small pieces. Remember to discard the tip of the pandan leaves. Blitz pandan leaves with water to extract the juices. Thereafter, run it through the sieve to squeeze it dry.

Sift the baking powder and the cake flour in a big bowl

In a separate bowl, add 2 tbsp of the extracted pandan juice to the coconut milk.

Add half of the caster sugar (60g) into the egg yolks. Stir well till light and fluffy. Add in 1/3 of the coconut milk mixture and mix well. Then, add 1/3 of the flour and mix well. Repeat coconut milk mixture then flour in 3 batches. Mix well at each additions.

Add oil & vanilla extract. Set aside.

Now, comes my favorite. beat egg whites till frothy. Then add the rest of the caster sugar gradually. Whisk egg whites till stiff peaks are formed.

Carefully, fold 1/3 of the egg white mixture to the coconut milk batter. Continue to fold the remaining 2/3 of the egg whites to the coconut milk batter. Fold in with spatula. Remember not to overmix it.

Once done, pour the cake batter into the baking tin and even it out.

Bake for 60mins in the pre-heated 150C oven, with the cake in the middle rack

Once baked, put the chiffon cake tin o a higher rack to cool completely before removing it from the tin.

Pandan Chiffon Cake

I forgot to take a picture of the slice I brought to work! Oh well, there will always be another time for it 🙂

Have fun baking!

My macaron has feeettt! :D

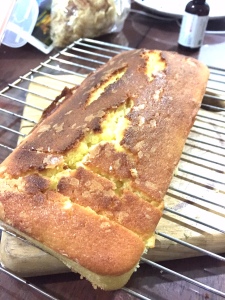
When the macaron craze hit the Singapore food scene a couple of years back, I decided to give it a try. How hard can it be right? 😀 The gullible me failed terribly and wasted tonnes of money (well at least I could save those raspberry jam) but it was major fail! See below – cracks, flat and watery after 20mins.

I refused to try up till recently because I had to go for a gathering and didn’t know what to bring. So i googled, did LOTSA homework, watched TONNES of videos. Finally, it took me 5 failed batches in 3 nights before my macaron grew some feet 🙂 *doing the happy feet dance* But…. to give macarons credit, they are not difficult to make, but they can be so finicky that they have a reputation for turning our hair white! So to save us all from misery, I would recommend all of you to watch the following videos before getting started:

And of cos because I’m on a adrenaline high after the crazy success, I made 3 batches of different flavors 🙂

Recipe adapted from The Baking Biatch (Cynthia was of great help! Guiding me along the way and encouraging me not to give up, thanks babe!)

Earl Grey Macarons with Chocolate Ganache

Total Time: About 2 to 3 hours, plus chilling time

Makes: 18-20 small macarons (about 2.5cm)

For the shell
  • 55g extra fine ground almond meal
  • 100g icing sugar
  • 18g castor sugar
  • 50g egg whites
  • Blue gel food coloring
  • 2 bags of Earl Grey

For the filling

  • 100g dark couverture chocolate
  • 100ml whipping cream
  • 2 bags of Earl Grey

Measure ingredients as detailed above. Line trays with parchment paper with pre-draw circles (if you are a piping newbie like me :D). Fit a large piping bag with 1/2 inch plain tip; set aside

For the shell:

Place the almond meal and icing sugar in a food processor and pulse several times. Process until fine and combined (about 30-40secs). Add in earl grey tea leaves. Sift through a flour sifter into a large bowl; set aside.

Now, meringue time! Place the egg whites in a CLEAN bowl (THIS IS VERY IMPORTANT!) Beat on medium speed until foamy, about 30 seconds. Add castor sugar gradually, increase the speed to medium high, and continue to beat until the egg white in color and hold the line of the whisk. This took about 1 minute or so. Add coloring – make sure it is 2 shades darker than what you would like as it typically comes out lighter.

Continue to beat until the sugar is combined, the peaks are stiff and the whites are shiny. It is ready when you lift the beaters and the peaks are stiff enough to stand up firmly.

Now comes the interesting part 🙂

Using a spatula, gently fold the flour mixture into the egg white in 3 or 4 batches until the dry ingredients are JUST combined. PLEASE DO NOT OVERMIX. Make sure your are folding it NOT stirring it. The batter is ready when it falls off the spatula in a nice “V” when you lift it up.

Transfer the batter into piping bag.

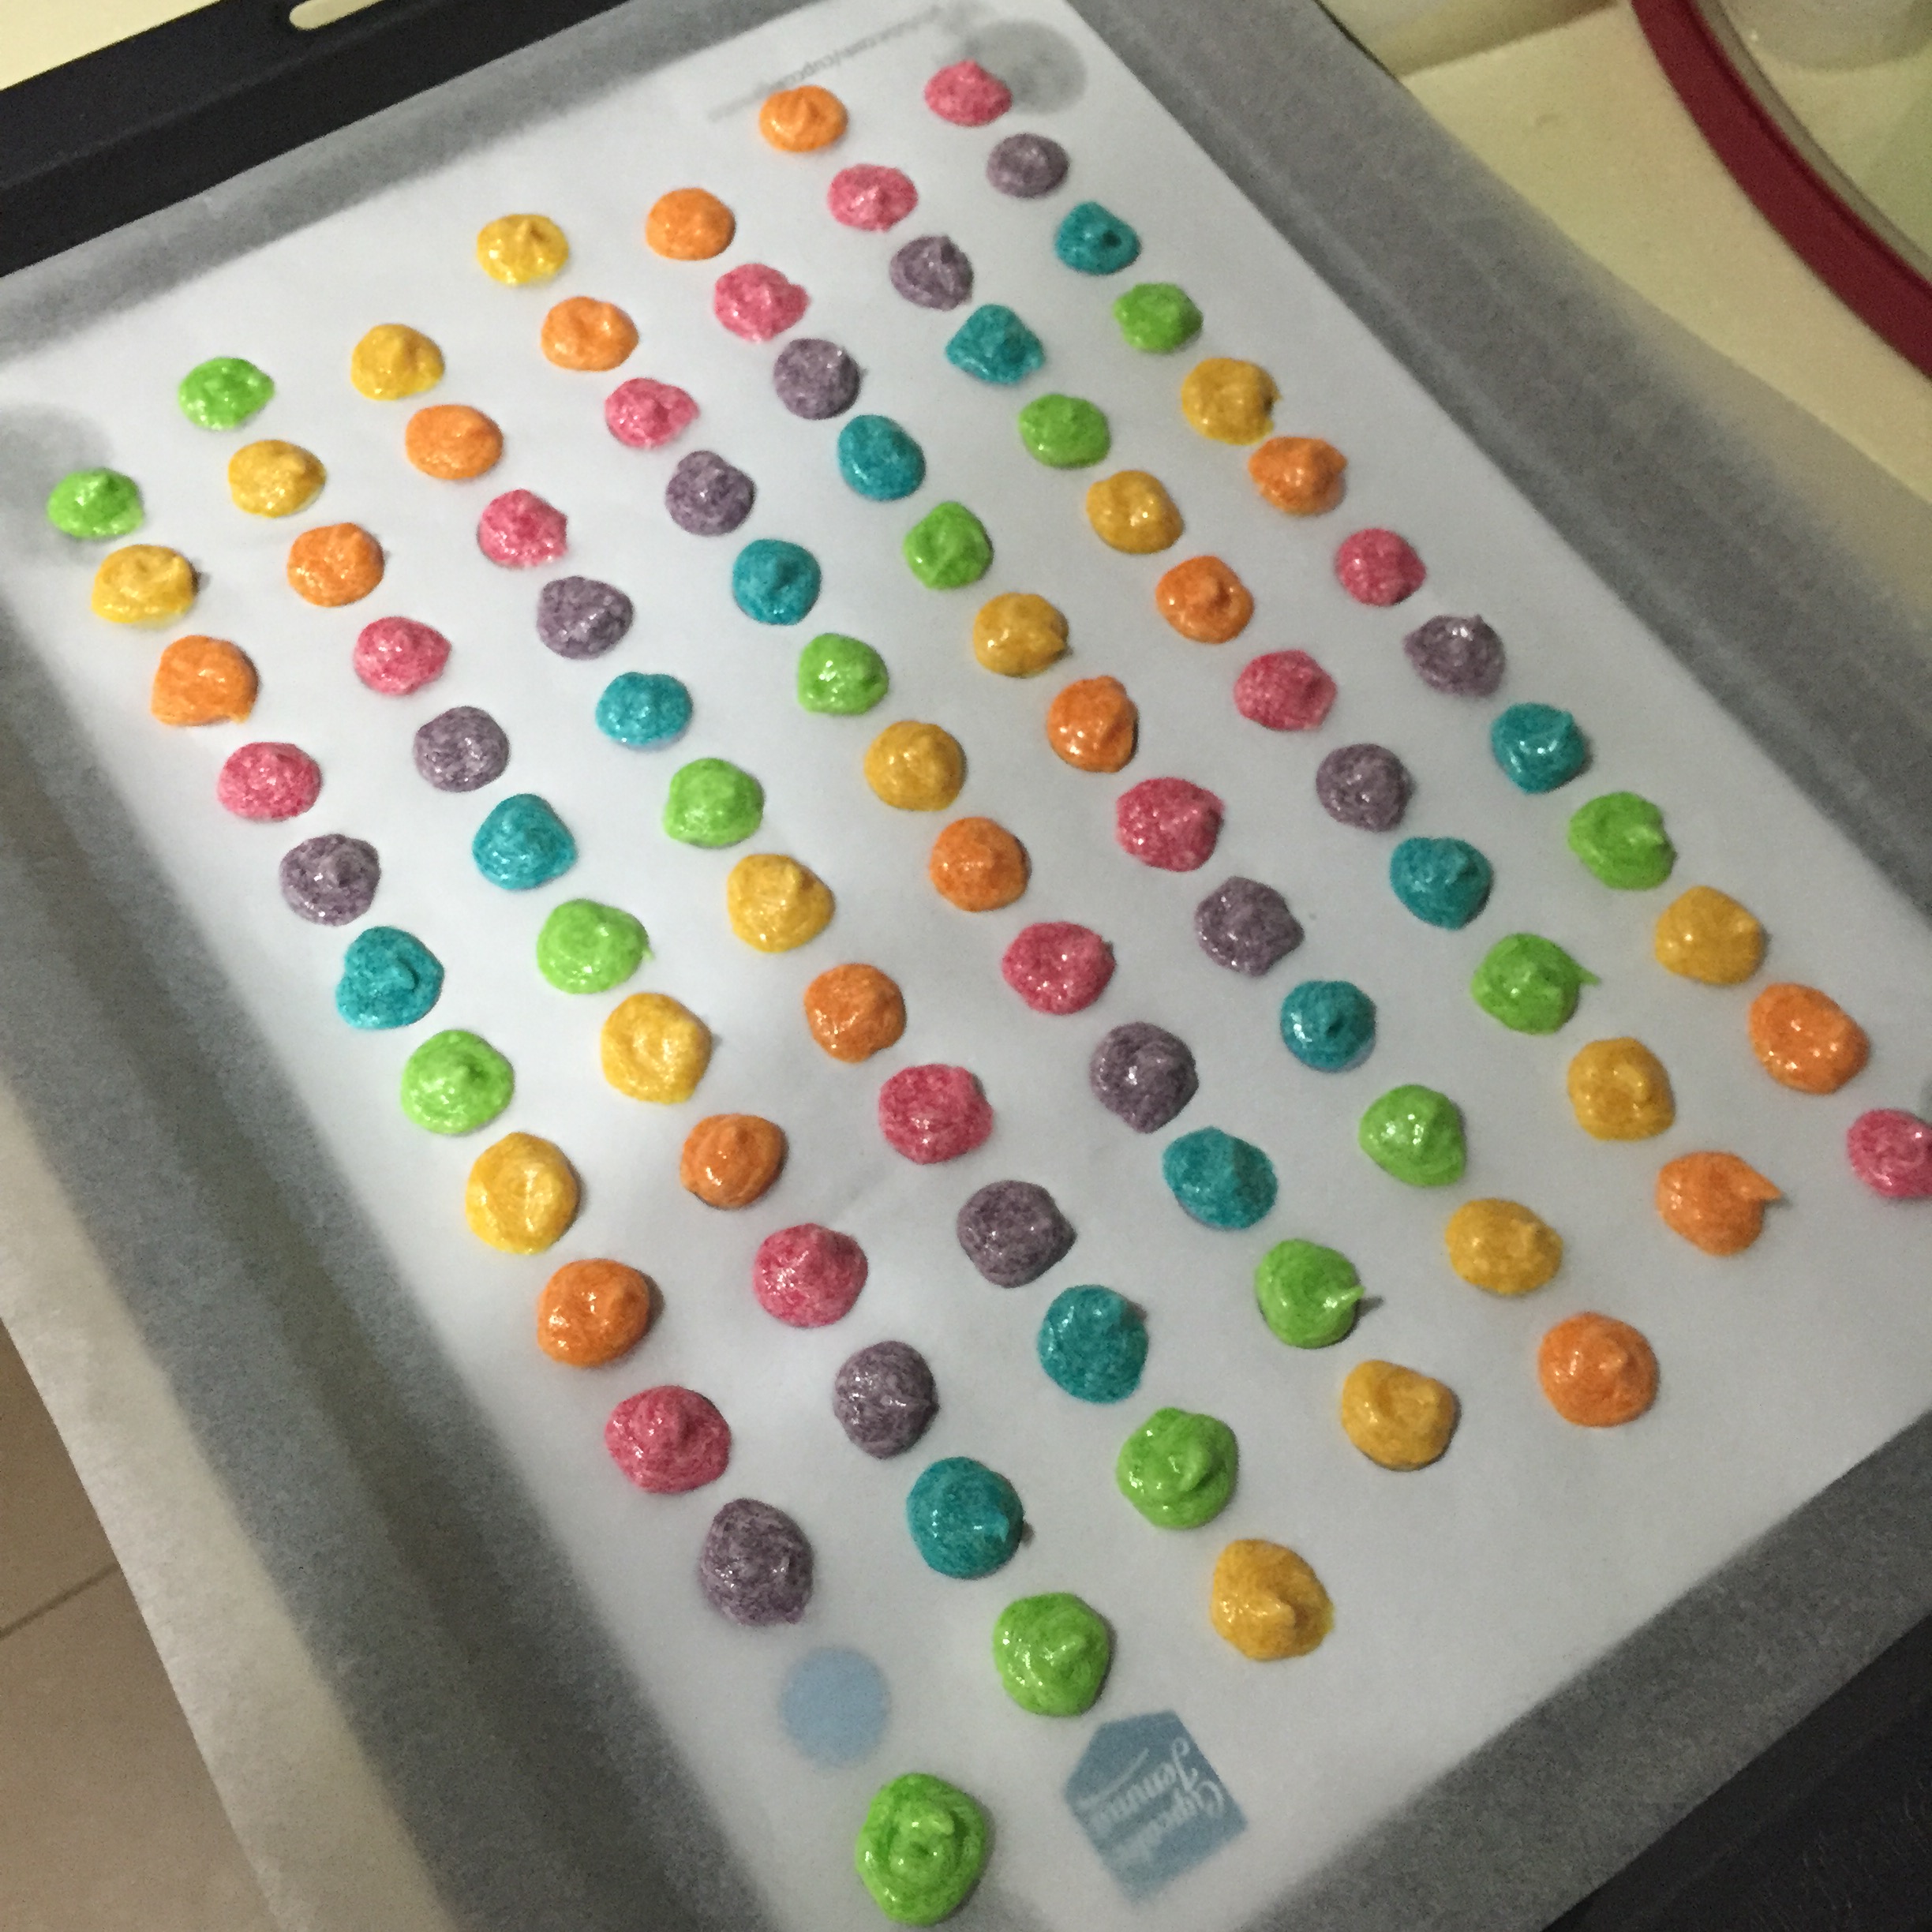
Pipe onto baking tray. Pick up the tray and bang them against the work surface to help create the macaron base or what we call “HAPPY FEET”

IMG_4702
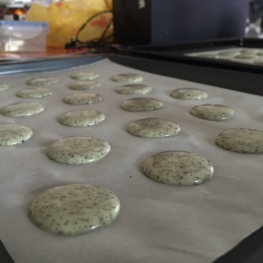
Now, let the pretty circles sit in a room temperature for about 30 – 40mins to dry the tops and ensure even baking. Start preheating your oven to 150C

Once your macaron is dry, arrange the rack in the middle, bake them in the pre-heated oven of 150C for about 15 – 17mins depending on your oven. Don’t be greedy – bake one tray at a time! Macarons are divas, they don’t like to share 🙂

Allow macarons to cool completely before removing from the baking paper. If it is done, it will come off easily and cleanly.

For the ganache filling:

Add in 2 sachets of tea leaves into the whipping cream and stir well

Using the double boil method, warm the cream until it starts to bubble. Turn off heat and add in chocolate. Allow it to rest for about 7 mins before stirring.

Stir gently until all is combined. Don’t panic. The ganache is too soft to be used at this stage. Place it into the freezer for about 10 minutes or in the fridge for about 30 minutes. It should thicken but still spreadable.

To assemble:

IMG_4711

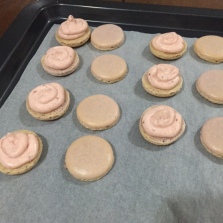
Pair macarons of similar size. Remove the ganache from the fridge and pipe it onto the center of a macaron.Top with another half and press gently. The filling should not ooze out of the edges. Sandwich done macarons in an air tight container and refrigerate at least 24 hours before serving.

And tada! Perfect bring along for gathering 🙂
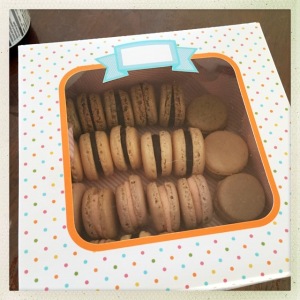
FullSizeRender

Have fun peeps!

Kueh Ko Swee (卡穗糕)

Last night my friendly neighbor passed me some freshly grated coconut as she didn’t know what to do with it (her helper bought the wrong thing. oops!)

So this was like a calling *giggle* to make my favorite kueh ko swee. My godma used to make them for me and she often joke how she could do it with her eyes closed because it was THAT easy.

So tada here we go – it was indeed quite easy. I couldn’t find the mini cups she bought for me so i used a giant tray and cut it after it was cooled completely.

Mine turned out a little soft this time but taste wise is shioks. At least it satisfied my cravings. Have fun!

11009354_10153472727061015_7259078252064682485_n

This recipe makes about 20-25 pieces

Ingredients

  • 250ml water
  • 4-5 pandan leaves, washed and to be tied into a knot x 2 sets
  • 60g gula melaka (brown palm sugar)
  • 40g sugar
  • 45g tapioca starch
  • 45g rice flour
  • 1/3 tsp lye water (also known as alakaline or kan sui)
  • 160ml water
  • 150g grated fresh coconut without those brown stuff
  • 1/8 salt

Instructions

  • Bring 250ml water, 1 set of panda leaves, gula melaka & sugar to boil, covered. Simmer gently for about 5 – 7mins. Turn off the heat and discard the pandan leaves
  • While waiting for the sugar mixture to simmer, whisk tapioca starch, rice flour, lye water and 160ml water till smooth
  • Pour batter into the sugar mixture (some people prefers for the batter to be darker for better contrast, you can add some food coloring) Whisk till smooth
  • Turn on low heat and whisk vigorously
  • Once whisk feels heavy, turn off heat
  • Keep whisking until remaining heat dissipates. The batter should now be thick and can form thick ribbons when you lift your whisk
  • Pour batter into mini cups or a cake pan. If you are using cake pan, remember to line it with parchment paper
  • Steam for 10-15mins over low heat. It is considered cooked when color changes and you can use a tooth pick test if you want
  • Remove from steamer & leave until cool
  • For grated coconut, sprinkle salt over the grated coconut and mix evenly. Place the second set of pandan leaves in the middle. Steam for 10-15mins over high heat.
  • Remove from steamer, discard the pandan leaves & leave until cool
  • To serve:
    • If you are using those mini cups, use toothpick to unmould the kueh. Sprinkle generously the grated coconut on top
    • If you are using the cake pan, cut the kueh into smaller pieces using scissors. Coat it in the grated coconut till evenly coated.

Rainbow Polka Dot Swiss Roll

I have been meaning to bake a swiss roll as this was my growing-up comfort breakfast! My mom used to stuff me with oats (and so I hate it now) but on random weekends, I get to have my swiss roll filled with strawberries and whipped cream.

Many years back when I was looking for the recipes online, the first few results would be “First attempt = Fail!” “Major Fail Swiss Roll” and thus, I always really worried I would add on to the pile of #fails!

In any case, I started following Kitchen Tigress and found her video to be relatively straight forward and tada! I finally tried it 🙂 I read her recommendations to stick with chocolate/nutella for first timer!

Nutella Swiss Roll

And of cos, the ambitious me decided to take a step further! RAINBOW POLKA DOTS 🙂

IMG_4386

For the dots, I’ve used:
– 50g unsalted butter, softened
– 50g icing sugar, sifted
– 2 eggs whites
– 50g plain flour, sifted
– Food coloring (in red, orange, yellow, green, blue and purple)

Method

  • Mix icing sugar with unsalted butter till pale
  • Add in egg white, combine well
  • Add in plain flour, mix well
  • Divide the batter into 6 different bowls & add color *this is my favorite part!*
  • Once done, transfer them into piping bags
  • Pipe the dots onto the swiss roll pan lined with greaseproof paper
  • Chill in freezer while you prepare the swiss roll batter

For the swiss roll batter: google Kitchen Tigress Vanilla Swiss Roll – I would recommend you watch the video a couple of times before starting! Good luck!

IMG_4390

IMG_4406

My pictures do not do justice to the taste 😀 but, really – you should try it! Maybe without the dots if you are doing it for the first time. Have fun!

Lemon Butter Cake

So my triplets & Miss Ong have been craving for butter cake and those you buy normally made from lousy butter and tonne of flour, so I decided to bake for them so they can bring to the zoo for & for work respectively. Adding the lemon grind really added flavors to the butter cake and I think it taste better the next day 🙂

lemon butter cake

Source: Adapted from Nasi Lemak Lover

Ingredients
125g butter, softened
100g sugar
1 lemon, finely grate the rind
2 large eggs
175g self-raising flour
4tbsp milk

  • Pre-heat oven at 180C & line your loaf tin with greaseproof paper
  • Beat the butter with sugar until fluffy
  • Add in the eggs one by one, then add in lemon rind, mixing well
  • Fold in the flour, followed by milk, combine well
  • Pour the mixture into the earlier prepared tin
  • Bake for 40mins or until cake is done – do the cake test, skewer should come out clean

BUTTER2

BUTTER

Japanese Cotton Cheesecake チーズケーキ

Source adapted from: Kitchen Tigress

Recipe makes one 18cm round cake [but i used a square pan instead]

Japanese Cheesecake

Ingredient

(A)

80ml milk

40g butter unsalted, softened

140g full-fat cream cheese block, softened

50g cake flour, sifted

15g cornstarch, sifted

1/8 tsp salt

75g egg yolks

2 tsp lemon juice

(B)

180g egg whites

90g caster sugar

(C) chocolate batter (only if you are making the swirls)
1 tbsp cocoa powder
1 tbsp hot water
* dissolve and set aside

Method:

  • Preheat oven to 180oC, boil water and line 18x6cm round cake plan with parchment paper
  • Using the double boil method, heat milk till warm, add to butter and cream cheese. Mix evenly
  • Add egg yorks and lemon juice into the above and mix evenly[Make sure the mixture isn’t too hot, or you will cook the yorks :D)
  • Sieve twice so that the mixture is silky smooth
  • Add cake flour, cornstarch and salt and mix till just even (Do not over mix it)
  • In another bowl, whisk egg whites till big bubbles become small
  • Continue whisking and add caster sugar gradually
  • Keep on whisking till egg whites form soft peaks (The peaks flop over immediately when the whisk is being lifted)
  • Add egg whites to york mixture in 3 batches. Make sure not to over mix it
  • Bang the mixing bowl against the tabletop a couple of times, to remove big air bubbles
  • For the cocoa batter remove 3-4 tablespoons of batter into the cocoa mixture. Mix well and set aside
  • Pour batter into prepared cake pan, slowly, otherwise you air gets traps in your cake
  • Pour the cocoa batter on top. Then create the swirls with a chopstick. For better swirls. swirl the chocolate batter like a letter “S”
  • Reboil water in kettle
  • Place cake pan into a slightly bigger, shallower pan
  • Fill the bigger pan with boiling water to about half-way up sides of the inner cake pan
  • Reduce oven temperature to 170oc, bake in bottom of oven for about 70-90mins depending on your oven. Top of cake should be golden brown and skewers comes out clean with some crumbs
  • Remove cake from oven and leave on wire rack to cool down completely
  • Unmould the cake by inverting on a plate then peel of the parchment paper and invert back
  • Once cool, keep the cake in fridge to chill before serving